关于卷积神经网络的原理这篇文章先不做介绍,推荐机器视角:长文揭秘图像处理和卷积神经网络架构 和卷积:如何成为一个很厉害的神经网络 这两篇文章,这里记录一下PyTorch对卷积神经网络的实现。
代码清单 model.py
1
2
3
4
5
6
7
8
9
10
11
12
13
14
15
16
17
18
19
20
21
22
23
24
import torch.nn as nnclass ConvNet (nn.Module ): def __init__ (self, num_classes=10 ): super (ConvNet, self).__init__() self.layer1 = nn.Sequential( nn.Conv2d(1 , 16 , kernel_size=5 , stride=1 , padding=2 ), nn.BatchNorm2d(16 ), nn.ReLU(), nn.MaxPool2d(kernel_size=2 , stride=2 )) self.layer2 = nn.Sequential( nn.Conv2d(16 , 32 , kernel_size=5 , stride=1 , padding=2 ), nn.BatchNorm2d(32 ), nn.ReLU(), nn.MaxPool2d(kernel_size=2 , stride=2 )) self.fc = nn.Linear(7 *7 *32 , num_classes) def forward (self, x ): out = self.layer1(x) out = self.layer2(out) out = out.reshape(out.size(0 ), -1 ) out = self.fc(out) return out
这里首先构建了一个两层的卷积神经网络,torch.nn.Squential是一个顺序的容器,模块按照构造函数顺序加入。torch.nn.Conv2d是将2D卷积(卷积核是2D的)应用到输入,其参数依次为:
in_channels 输入图像的通道数
out_channels 卷积产生的通道数
kernel_size 卷积核大小
stride 卷积的步长
padding 在输入的各边0填充
输入为一个图像的Tensor形式,其中包含$N$词袋大小,$C$是通道数,$H$是输入的高度,$W$是输入的宽度,单位是pixel。下面的demo.py中可以看到一个图像的Tensor如何构造。torch.nn.BatchNorm2dBatch Normalization 对每个隐藏层的输入进行标准化,有加速收敛等好处。torch.nn.ReLU是一个非线性激活函数,$ReLU(x) = max(0, x)$正数不变,负数都转化为0。torch.nn.MaxPool2d是对输入进行一个2D最大池化。torch.nn.Linear对输入的数据进行一个线性转变$y = Ax + b$,参数依次为:
in_features 输入样本的大小
out_features 输出样本的大小,这里是10个数字
bias
代码清单 train.py
1
2
3
4
5
6
7
8
9
10
11
12
13
14
15
16
17
18
19
20
21
22
23
24
25
26
27
28
29
30
31
32
33
34
35
36
37
38
39
40
41
42
43
44
45
46
47
48
49
50
51
52
53
54
55
56
57
58
59
60
61
62
63
64
65
66
67
68
69
70
71
72
73
74
75
76
77
import torchimport torch.nn as nnimport torchvisionimport torchvision.transforms as transformsfrom model import ConvNetdevice = torch.device('cuda:0' if torch.cuda.is_available() else 'cpu' ) num_epochs = 5 num_classes = 10 batch_size = 100 learning_rate = 0.001 train_dataset = torchvision.datasets.MNIST(root='./data/' , train=True , transform=transforms.ToTensor(), download=True ) test_dataset = torchvision.datasets.MNIST(root='./data/' , train=False , transform=transforms.ToTensor()) train_loader = torch.utils.data.DataLoader(dataset=train_dataset, batch_size=batch_size, shuffle=True ) test_loader = torch.utils.data.DataLoader(dataset=test_dataset, batch_size=batch_size, shuffle=False ) model = ConvNet(num_classes).to(device) criterion = nn.CrossEntropyLoss() optimizer = torch.optim.Adam(model.parameters(), lr=learning_rate) total_step = len (train_loader) for epoch in range (num_epochs): for i, (images, labels) in enumerate (train_loader): images = images.to(device) labels = labels.to(device) outputs = model(images) loss = criterion(outputs, labels) optimizer.zero_grad() loss.backward() optimizer.step() if (i+1 ) % 100 == 0 : print ('Epoch [{}/{}], Step [{}/{}], Loss: {:.4f}' .format (epoch+1 , num_epochs, i+1 , total_step, loss.item())) model.eval () with torch.no_grad(): correct = 0 total = 0 for images, labels in test_loader: images = images.to(device) labels = labels.to(device) outputs = model(images) _, predicted = torch.max (outputs.data, 1 ) total += labels.size(0 ) correct += (predicted == labels).sum ().item() print('Test Accuracy of the model on the 10000 test images: {} %' .format (100 * correct / total)) torch.save(model.state_dict(), 'model.ckpt' )
1
2
3
4
5
6
7
8
$ python train.py Epoch [1/5], Step [100/600], Loss: 0.1743 Epoch [1/5], Step [200/600], Loss: 0.1452 Epoch [1/5], Step [300/600], Loss: 0.1029 Epoch [1/5], Step [400/600], Loss: 0.0549 Epoch [1/5], Step [500/600], Loss: 0.0608 ... Test Accuracy of the model on the 10000 test images: 99 %
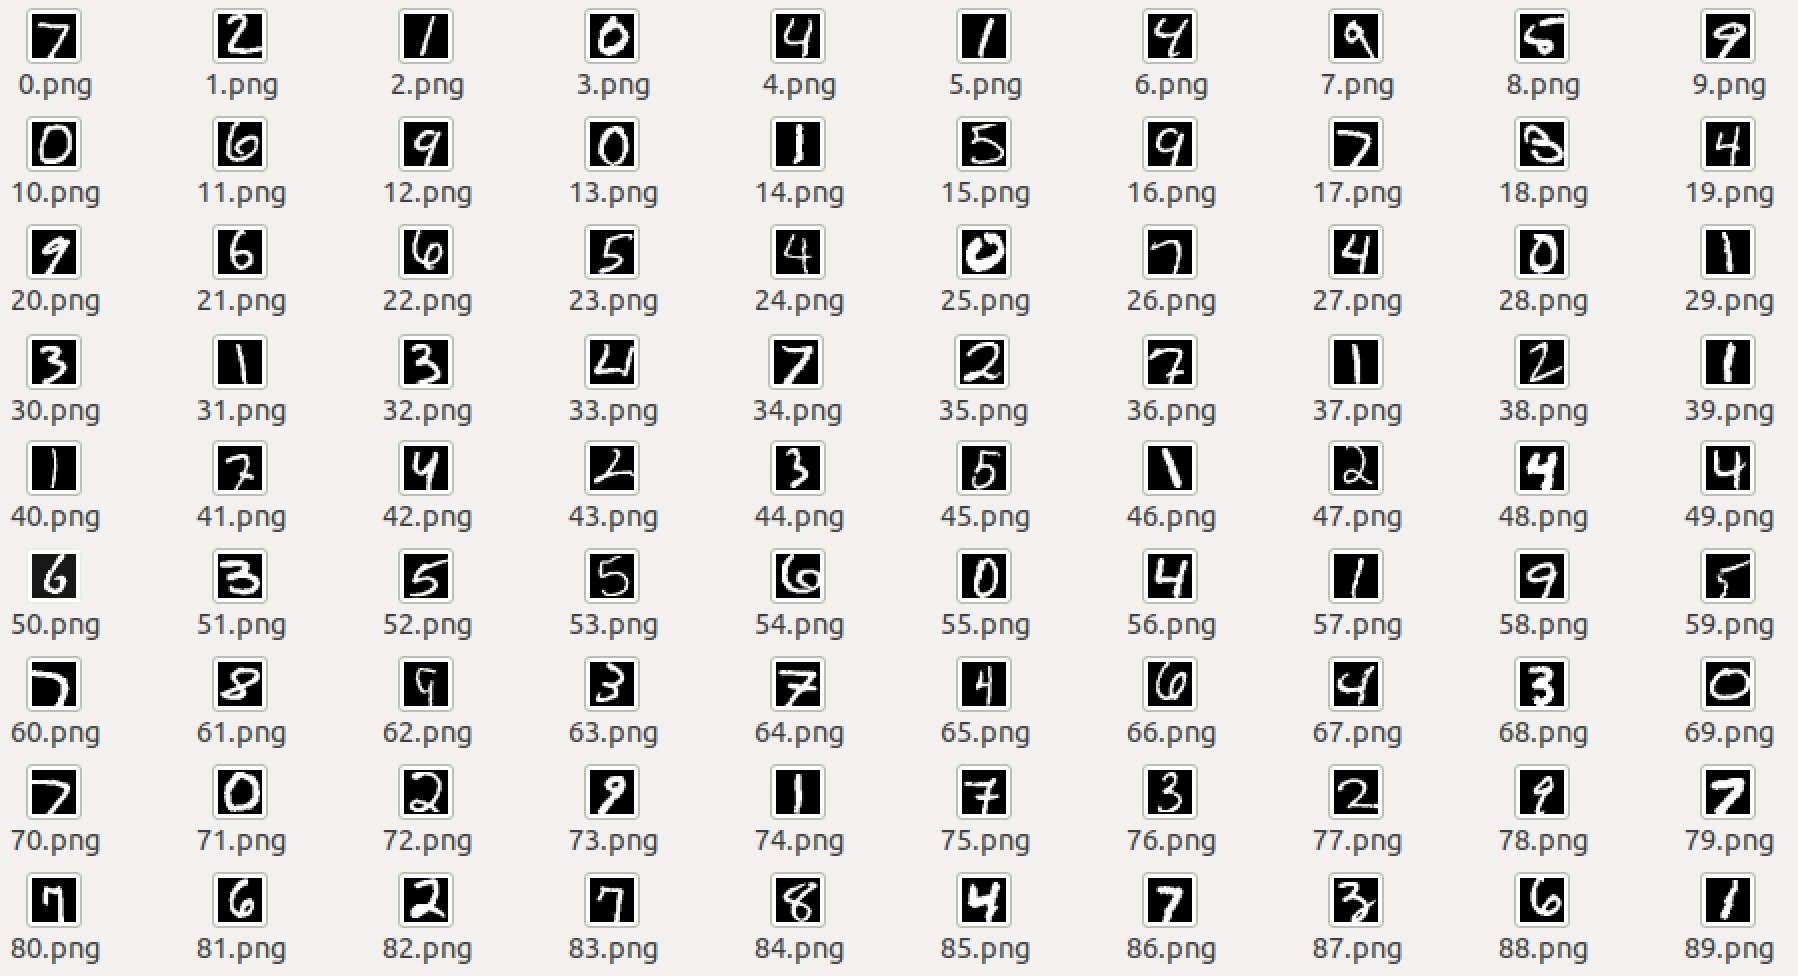
这里首先介绍一下训练数据,PyTorch支持多种数据集 ,上述代码用到的是MNIST数据集,一般在训练和测试时都是直接使用官网提供的二进制数据集 ,但是作为初学者,不太理解这个二进制到底是什么东西,所以先用下面的代码将二进制文件解析为原始的图片和对应的标签:代码清单 resolve.py
1
2
3
4
5
6
7
8
9
10
11
12
13
14
15
16
17
18
19
20
21
22
23
24
25
26
27
28
29
30
31
32
33
34
35
36
37
38
39
40
41
42
43
44
45
46
47
from PIL import Imageimport structdef read_image (filename ): f = open (filename, 'rb' ) index = 0 buf = f.read() f.close() magic, images, rows, columns = struct.unpack_from('>IIII' , buf , index) index += struct.calcsize('>IIII' ) for i in xrange(images): image = Image.new('L' , (columns, rows)) for x in xrange(rows): for y in xrange(columns): image.putpixel((y, x), int (struct.unpack_from('>B' , buf, index)[0 ])) index += struct.calcsize('>B' ) print 'save ' + str (i) + 'image' image.save('test/' + str (i) + '.png' ) def read_label (filename, saveFilename ): f = open (filename, 'rb' ) index = 0 buf = f.read() f.close() magic, labels = struct.unpack_from('>II' , buf , index) index += struct.calcsize('>II' ) labelArr = [0 ] * labels for x in xrange(labels): labelArr[x] = int (struct.unpack_from('>B' , buf, index)[0 ]) index += struct.calcsize('>B' ) save = open (saveFilename, 'w' ) save.write(',' .join(map (lambda x: str (x), labelArr))) save.write('\n' ) save.close() print 'save labels success' if __name__ == '__main__' : read_image('data/raw/t10k-images-idx3-ubyte' ) read_label('data/raw/t10k-labels-idx1-ubyte' , 'test/label.txt' )
model.ckpt:代码清单 demo.py
1
2
3
4
5
6
7
8
9
10
11
12
13
14
15
16
17
18
19
20
21
22
23
24
25
26
27
28
29
import numpy as npimport torchimport torchvision.transforms as transformsfrom model import ConvNetfrom PIL import Imagemodel_path = "./model.ckpt" img_path = "./12.png" model = ConvNet() print "load pretrained model from %s" % model_pathmodel.load_state_dict(torch.load(model_path)) transformer = transforms.ToTensor() image = Image.open (img_path).convert('L' ) image = transformer(image) image = image.view(1 , *image.size()) model.eval () output = model(image) preds = torch.max (output, 1 )[1 ] print preds.item()
1
2
3
$ python demo.py load pretrained model from ./model.ckpt 9
可以看到用训练的模型可以正确识别出图片中的数字9。reference https://github.com/yunjey/pytorch-tutorial/blob/master/tutorials/02-intermediate/convolutional_neural_network/main.py